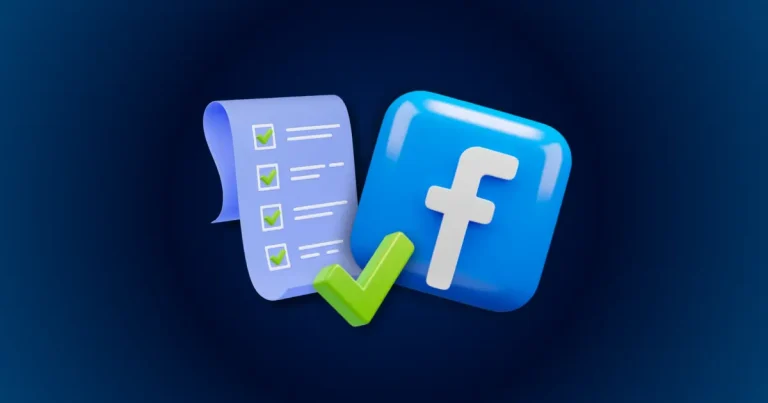
In this blog, you’ll find the Meta Ad Account Setup Checklist you need to properly set up your ads for better results and to avoid getting banned.
 Introduction
Worried about Meta disabling your ad account again?
You’re not alone. Many advertisers launch campaigns without properly setting up their Meta ad accounts—and end up banned, flagged, or stuck in review loops.
In 2025, Meta’s ad systems are stricter than ever. If you’re running campaigns—especially in sensitive or high-restriction niches—a strong setup is essential for success.
This step-by-step Meta ad account setup checklist will help you:
-
Avoid bans and payment holds
-
Set up a scalable business structure
-
Stay compliant with evolving Meta policies
Whether you’re an agency, freelancer, or brand owner—this guide is your blueprint.
Step 1: Create Your Business Manager Account
Why this matters in 2025:
Creating a Business Manager account is the first and most essential step in setting up your Meta ad account properly in 2025. Meta increasingly prioritizes centralized and transparent setups, especially for advertisers running campaigns at scale. A Business Manager not only helps you organize assets like ad accounts, pages, and pixels—it also boosts your credibility with Meta’s systems.
In today’s environment, where policy enforcement is stricter than ever, having a verified Business Manager is a strong trust signal. It shows Meta that you’re a legitimate advertiser, which can help reduce the risk of sudden account bans. In many industries, Business Manager access isn’t just recommended—it’s required in order to run any ads at all. Setting this up correctly from the beginning can save you a lot of headaches down the road.
Steps:
-
Go to business.facebook.com
-
Click Create Account
-
Enter your business name, email, and name
Step 2: Verify Your Business & Domain
Verifying your business and domain is no longer optional—it’s a critical part of earning Meta’s trust. Meta strongly favors verified entities, and accounts that skip this step often face delays, restrictions, or outright rejections when trying to run ads.
By verifying your business through Business Manager and confirming ownership of your domain, you signal to Meta that you’re a real, legitimate advertiser. This process helps prevent impersonation, protects your assets, and ensures smoother campaign delivery. If you don’t complete verification, you may find yourself limited in ad functionality or stuck in review loops that stall your campaigns indefinitely. Taking the time to verify now sets the foundation for long-term account stability.
What you’ll need:
-
Government-issued business document (license or tax record)
-
Domain-based email (e.g., [email protected])
-
Company website
Verify your domain:
Step 3: Add Your Ad Account (Safely)
Avoid using:
❌ Old personal accounts
❌ Untrusted or previously restricted accounts
Do this instead:
-
Create a new ad account inside Business Manager
-
Set clear timezone, currency, and naming conventions
-
Assign access only to verified team members
Pro Tip: Let your new account age 2–5 days before launching conversion campaigns.
Step 4: Create & Link a Facebook Page
You must have a Page to advertise. Set it up correctly to avoid unnecessary review delays.
For best results:
-
Use a clear, brand-compliant Page name
-
Fill out the About section fully
-
Link to a website with Privacy Policy, Terms, and Contact info
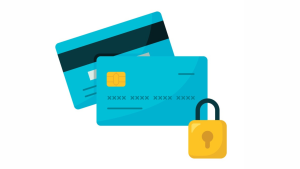 Step 5: Set Up Secure Payment Methods
Meta bans are often triggered by bad payment setups.
To avoid issues, use:
-
Virtual business cards (Wise, Revolut, etc.)
-
PayPal Business (linked to your verified company)
-
Billing info that matches your business profile
Avoid:
-
Prepaid cards
-
Mismatched country data
-
Reusing cards from disabled accounts
Backup Tip: Add a secondary payment method to reduce the risk of billing pauses.
Step 6: Strengthen Account Security
Hacked accounts are a common reason for bans and lost access. Protect yours by enabling two-factor authentication for all users, assigning at least one backup admin, and using strong, unique passwords that aren’t reused across platforms. Taking these simple steps can save your entire setup from being compromised.
🚫 Don’t:
-
Share login credentials
-
Access Business Manager on public Wi-Fi
Step 7: Assign Proper Roles and Permissions
Only give team members the level of access they truly need—avoid assigning full admin rights unless absolutely necessary. Limiting permissions helps reduce risk, maintain better control, and keep your account secure and well-organized. Below is an overview of the different roles and types of access available.
| Role | Access |
|---|---|
| Admin | Full control |
| Advertiser | Create/edit campaigns only |
| Analyst | View-only access |
Only grant higher-level access based on experience and accountability.
Step 8: Install Meta Pixel + Events Manager
Track what matters. Without accurate tracking, your campaigns won’t optimize properly.
Steps:
-
Go to Events Manager
-
Create or access your Meta Pixel
-
Install it via partner integration or manual code
-
Use the Test Events Tool to confirm it’s firing
-
Set up Custom Conversions early on
Multi-niche advertisers? Separate domains by ad account.
Step 9: Review & Bookmark Meta Ad Policies
Common reasons for ad rejection in 2025:
-
Use of restricted keywords (e.g., “get rich,” “instant cure”)
-
Poor landing page experience
-
Non-compliant industries like CBD, crypto, and gambling
Check Meta Ads Policy monthly. Bookmark it.
Step 10: Warm Up the Account
Meta trusts accounts that build activity gradually.
Start with:
-
Page Like campaigns
-
Post Engagement ads
-
Click-to-Message or Click-to-WhatsApp ads
Then move to:
-
Website traffic
-
Lead generation
-
Conversions
Timeline: 3–7 days of warm-up before pushing budgets.
Bonus: Advanced Setup Tips for High-Risk Niches
If you’re in finance, supplements, adult, or lead-gen verticals:
-
Use separate Business Managers per niche/offer
-
Don’t reuse Pages or domains across unrelated offers
-
Monitor Page Quality Score and Ad Account Quality regularly
-
Use Click-to-WhatsApp when landing page restrictions apply
-
Backup everything (Page, Ad Account, Domain)
FAQs
1. What’s the best way to set up a Meta ad account in 2025?
Use Business Manager, verify your domain and business, and never launch from a personal profile.
2. Can I run ads without business verification?
You can—but it limits reach, delays approvals, and increases ban risk.
3. What payment methods are safest?
Virtual business cards and PayPal Business accounts. Avoid prepaid cards or reused cards.
4. What’s the warm-up period?
Minimum 3–5 days. Start with low-budget engagement ads.
5. How do I avoid bans?
Follow setup steps, stay compliant, monitor quality scores, and review Meta policies monthly.
6. What are common mistakes advertisers make?
-
Launching too fast
-
Ignoring policy updates
-
Using mismatched payment or business info
-
Reusing banned assets
Already disabled? Check out our other blog to learn how to resolve a blocked account the easy way.